Project · Water damage · Richmond, CA

Water damage repair in Richmond: a kitchen from the first cut to a dry structure

A failed under-sink water filter, a kitchen opened up, and six components measured daily until every one of them met its own dry standard. This is the mitigation half — the rebuild follows.

  • Licensed & insured · CSLB #1123274
  • Mitigation and rebuild by the same contractor
The job

What this one involved

A Richmond home where an under-sink filter canister had been weeping long enough to reach the cabinet base, the subfloor and the framing behind it. The homeowner called once the water was off. We handled the dry-out and the rebuild — the job never changed hands.

  • Containment and floor protection before demolition
  • Moisture readings mapped surface by surface
  • Removal of wet drywall, cabinetry and flooring
  • Repair of the fitting that caused it
  • Structural drying to a measured dry standard
  • Dated photographs and a written scope for the insurer
Step by step

How the mitigation went

Seven stages, in order. The small images in the corner of a photograph are the meter readings that justified that step — they point at a reading; thereadings log and the drying logbelow are where you can actually see the numbers.
  1. As we found it

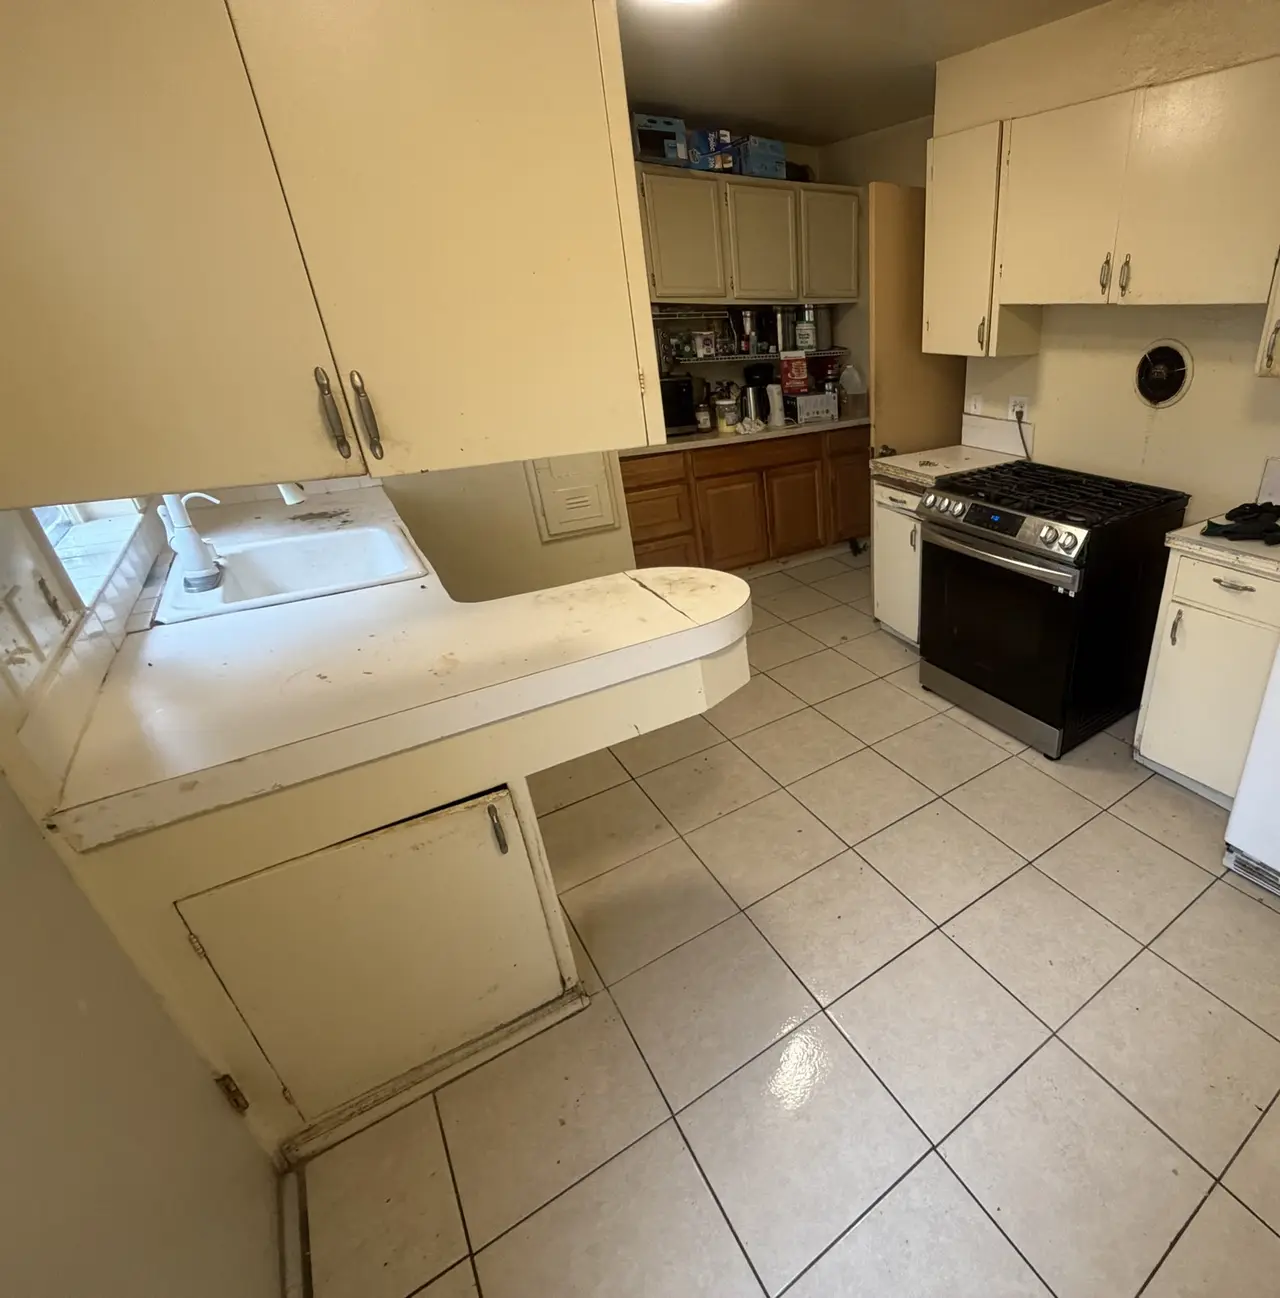
    Kitchen before work began — original painted cabinets, tile counter and tile floor
    The kitchen before anything was touched. Nothing here looks like an emergency, which is the problem with water: by the time it shows on the surface it has been travelling underneath for a while.
  2. What actually failed

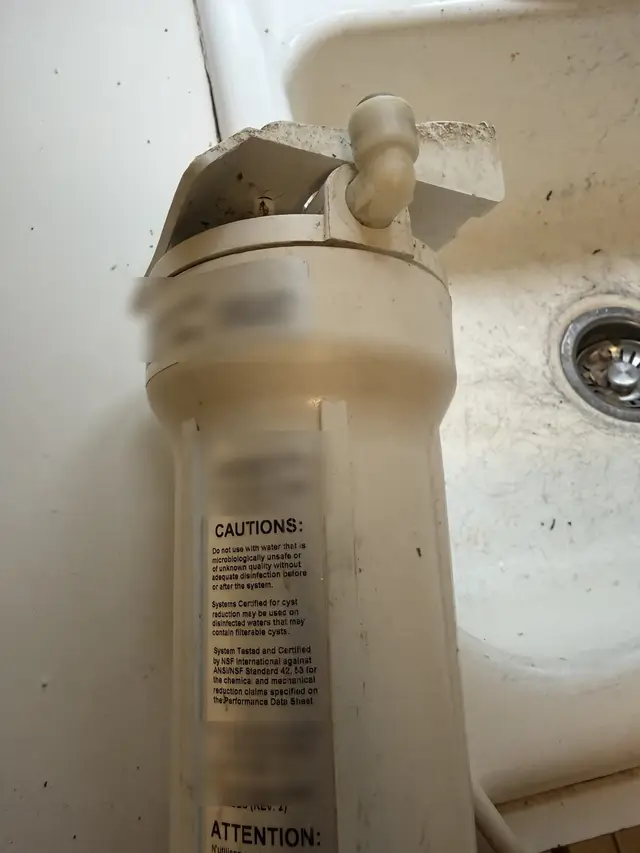
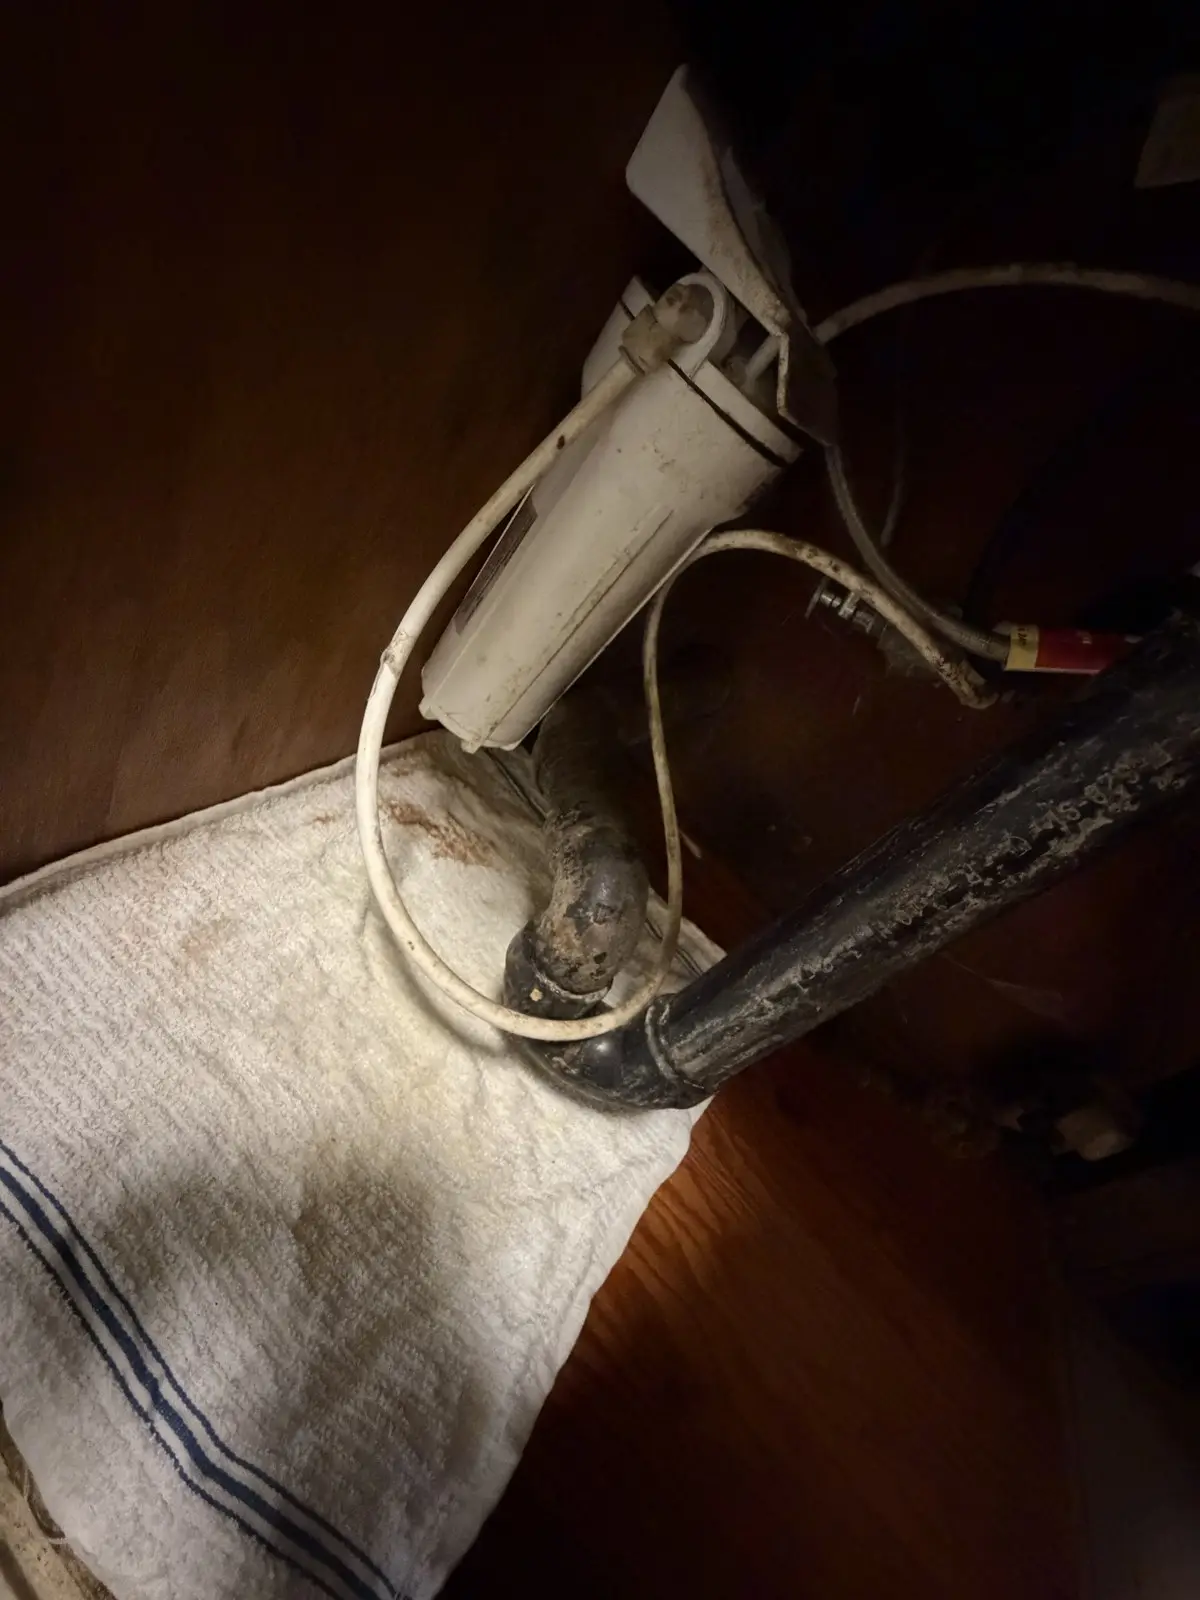
    Under-sink water filter canister with staining on the cabinet base and a towel beneath it
    Close-up of the filter housing, sediment visible around the cap
    The housing, closer
    An under-sink water filter canister. Not a burst pipe, not a roof — a fitting most people have three feet from where they load the dishwasher, weeping slowly into the cabinet base and the floor beneath it. The towel underneath is the homeowner’s; it had been catching it for a while.
  3. Containment, and measuring past it

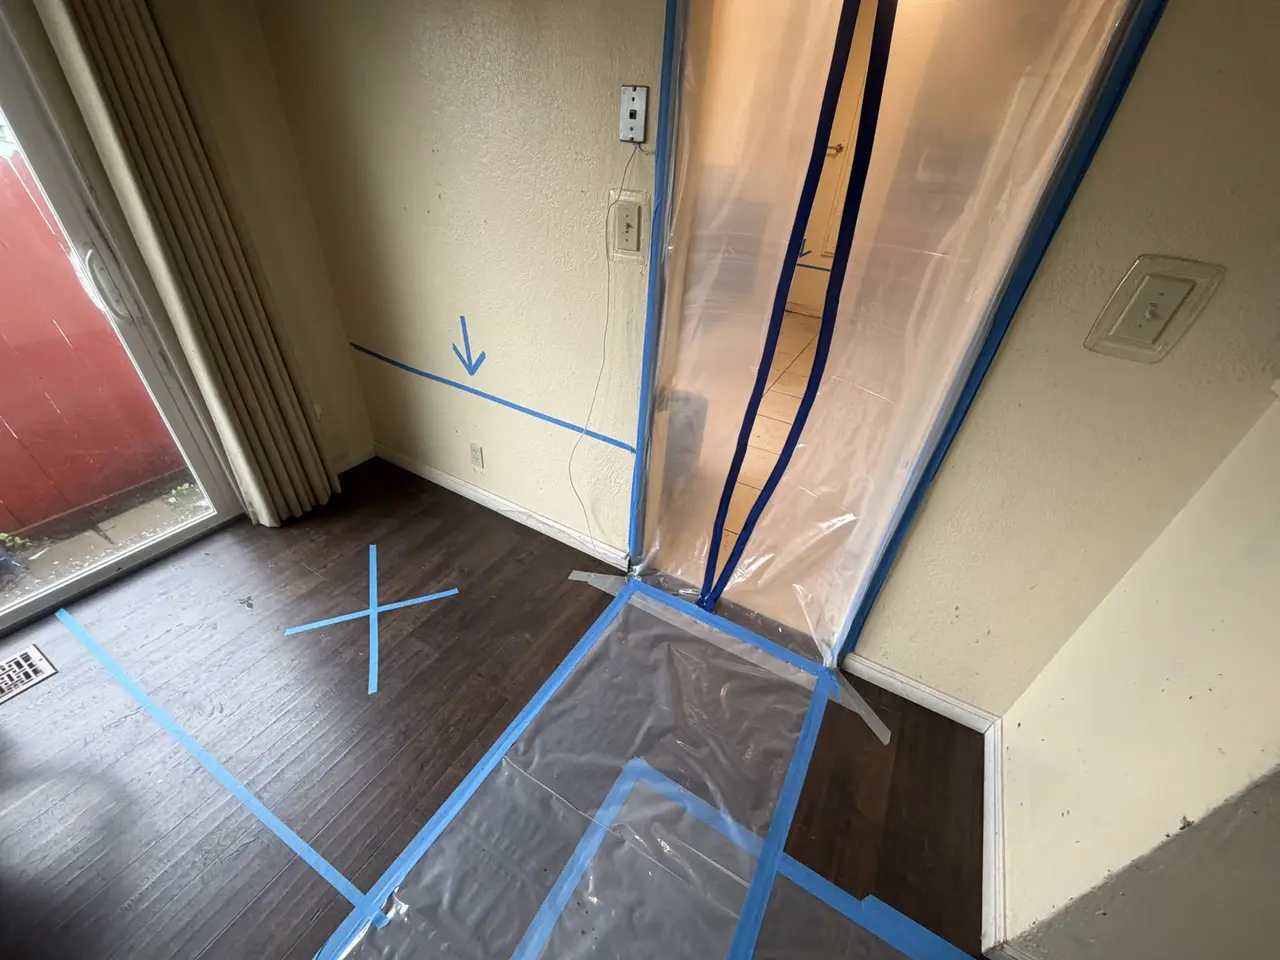
    Zippered plastic containment door in a doorway, with taped floor protection over the dining-room laminate
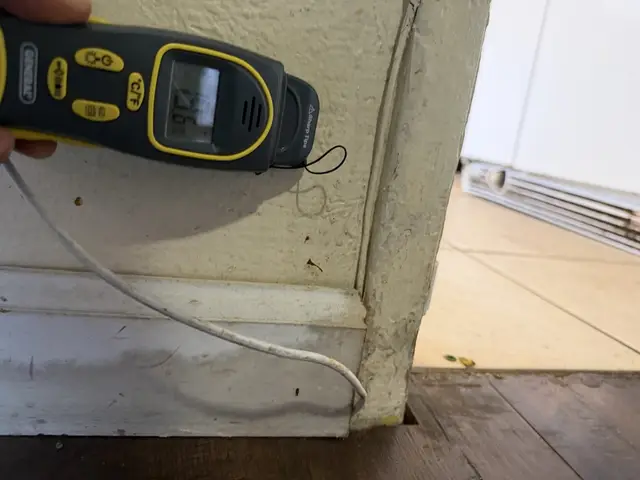
    Moisture meter at the threshold between the kitchen tile and the dining-room laminate
    Dining room — threshold
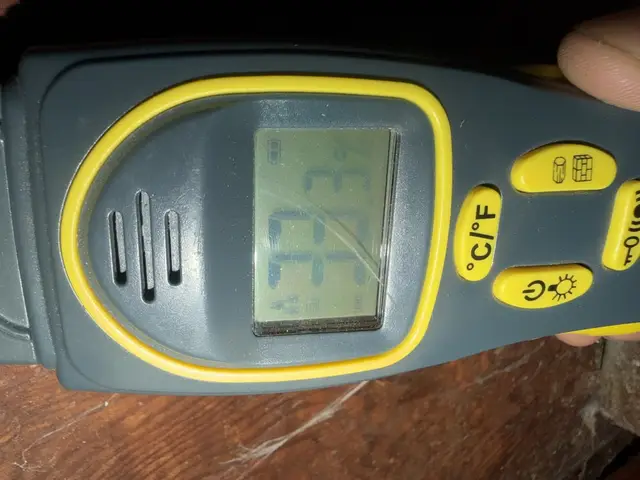
    Close-up of the moisture meter display, taken on the dining-room laminate
    Dining room — floor
    A zippered containment door across the opening and taped protection over the laminate, before a single cut. The laminate runs continuously through the whole house, so water that reaches it has nothing to stop it — which is why the dining room was measured, not assumed. Containment keeps the debris in one room; the readings tell you how far the water already went.
  4. Finding where it stopped

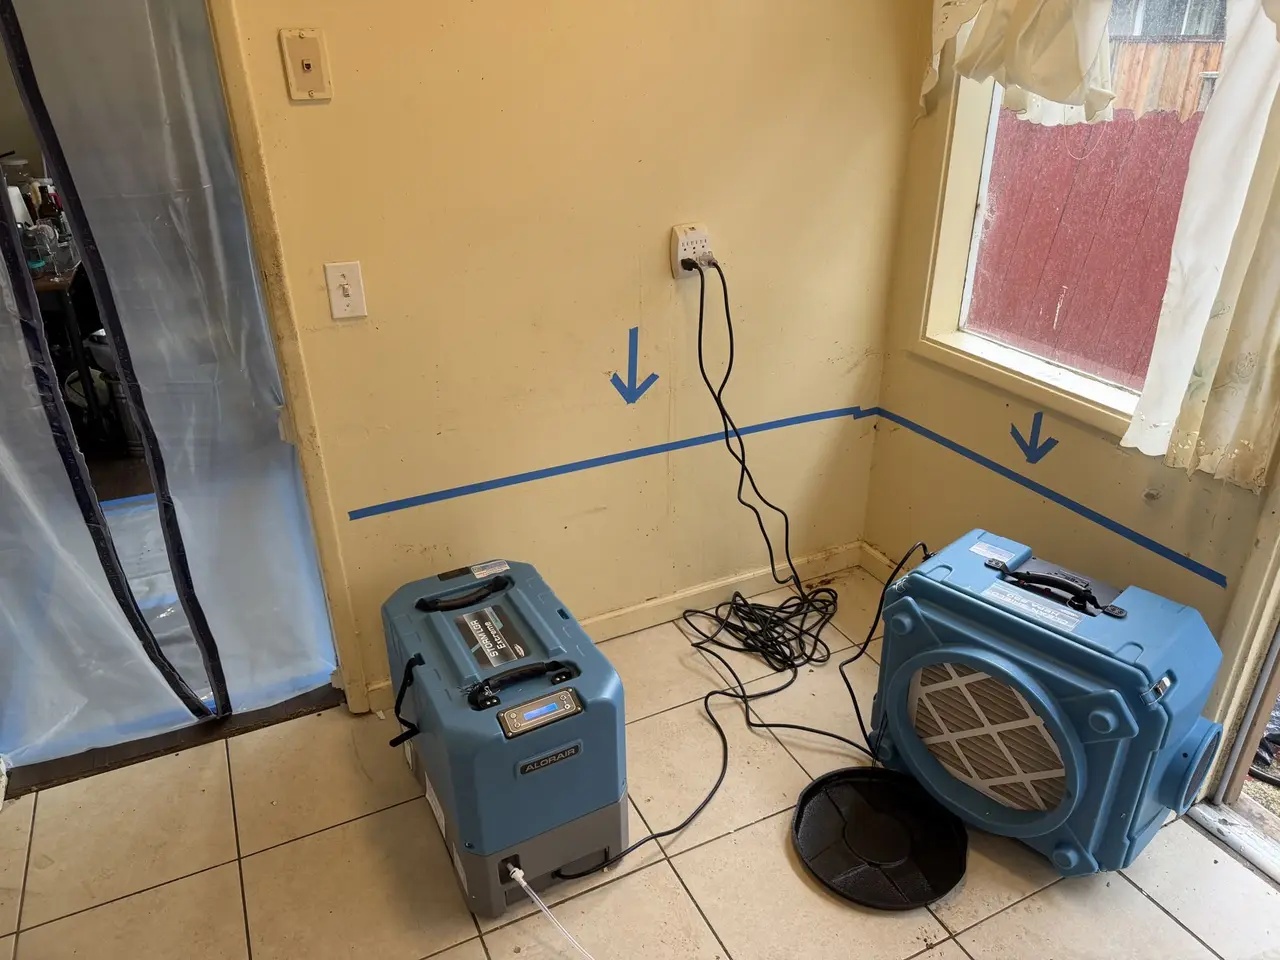
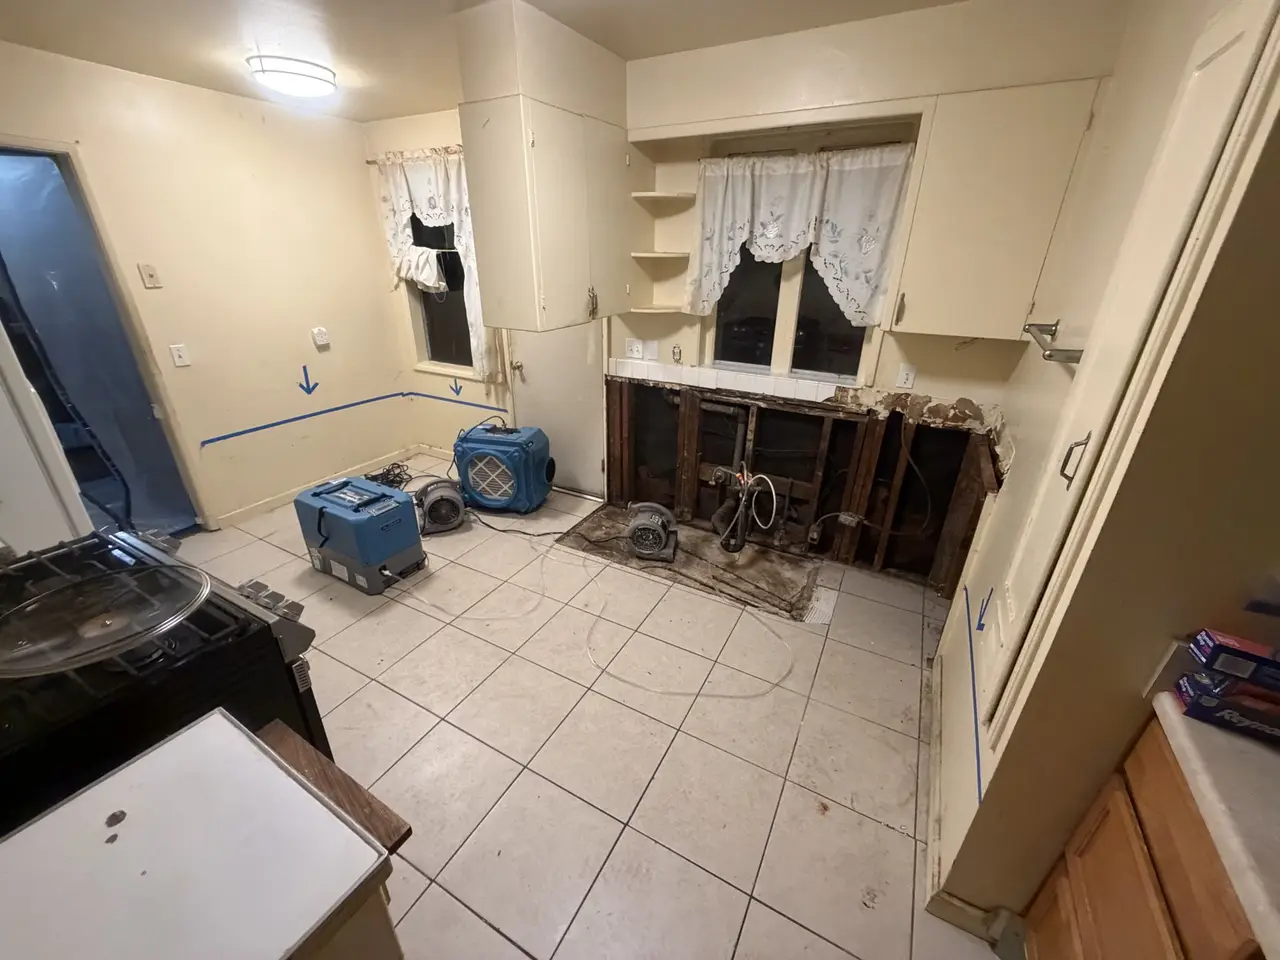
    Blue tape line and arrows marked along a kitchen wall, with a dehumidifier and air scrubber running
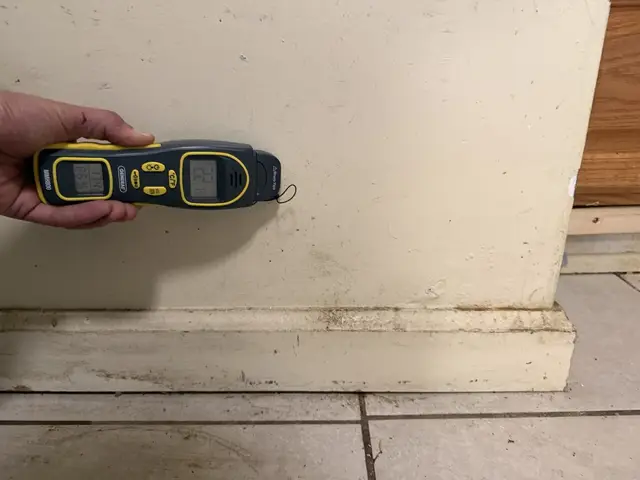
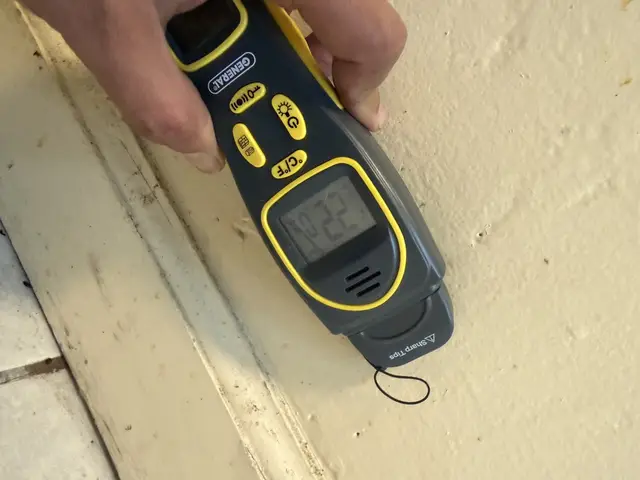
    Moisture meter against the kitchen wall above the baseboard, by the brown cabinets
    Kitchen — brown cabinets
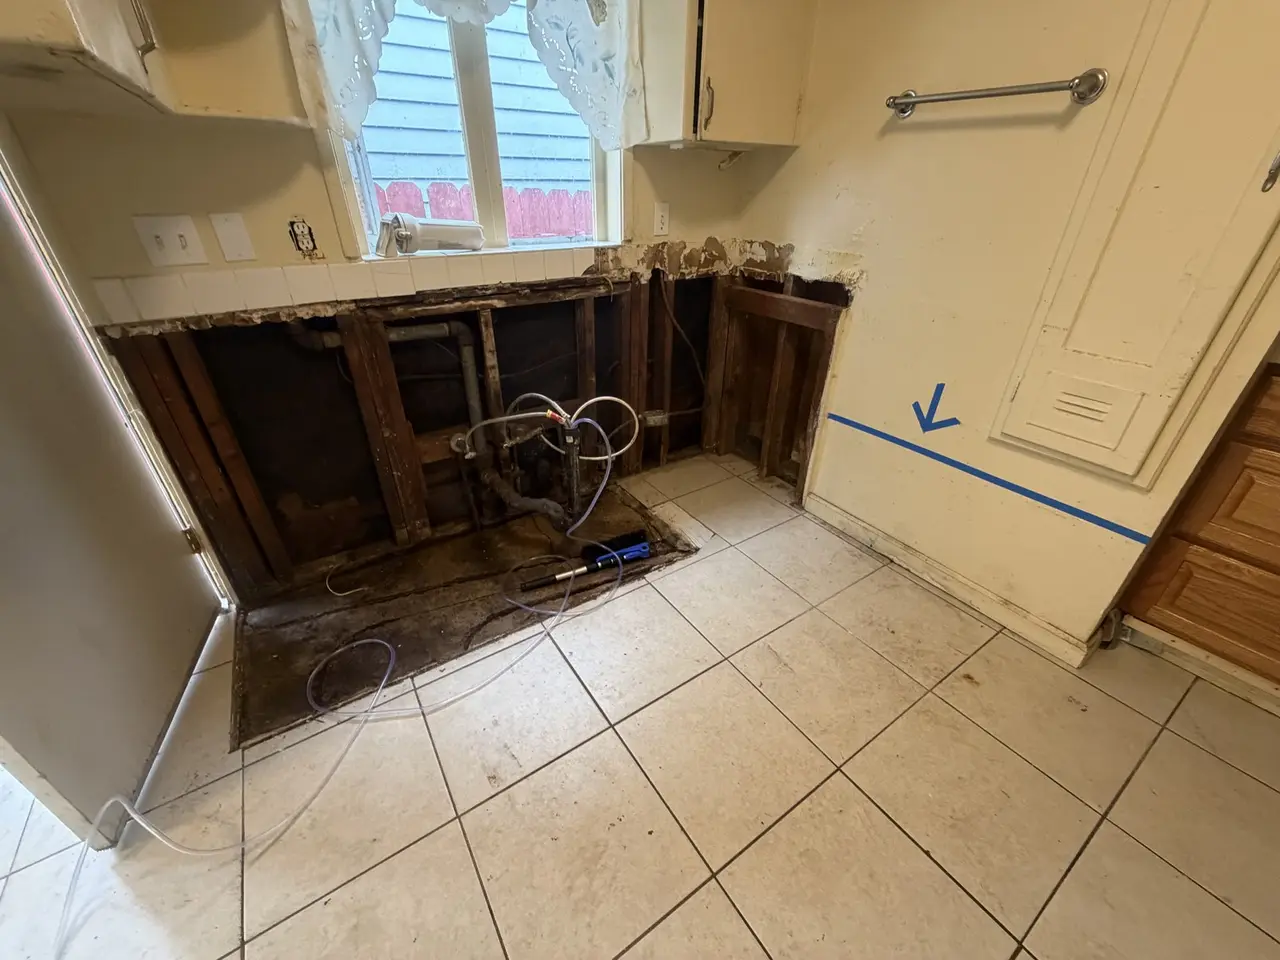
    The blue line is where the moisture stopped, marked wall by wall with arrows showing the direction of travel. Every one of those lines is a meter reading, not an opinion. Where we cut is decided here, before anything is opened up.
  5. Controlled demolition

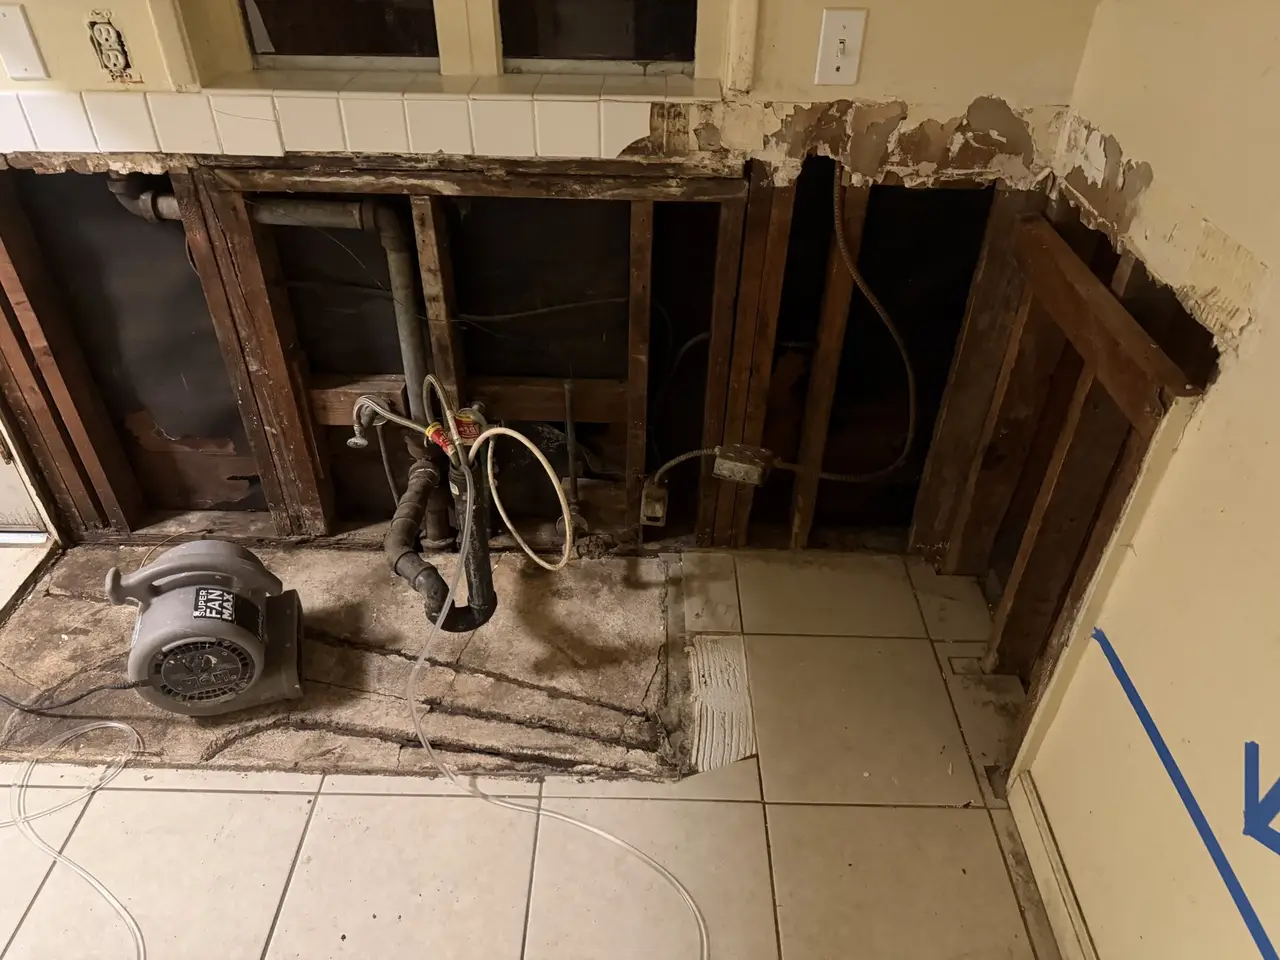
    Lower cabinets removed and the wall opened to a straight line, exposing studs and plumbing
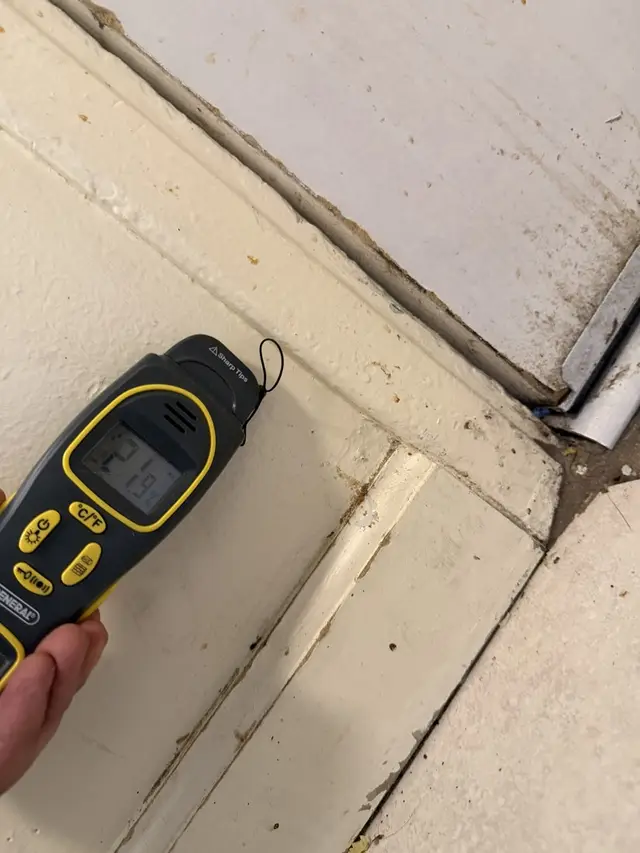
    Moisture meter at the base of the kitchen back-door casing
    Kitchen — back door
    Wet material out to a straight line above the damage, flooring cut back. The reading alongside was taken at the back-door casing immediately left of this run, which is how we knew where the cut line belonged. Removing more than the readings justify costs the homeowner money. Leaving wet material behind costs them the whole repair a second time.
  6. What was behind the wall

    Open wall cavity showing framing, supply lines and drain piping, with an air mover running
    Framing, supply and drain exposed and cleaned back. The staining shows how long this had been going on before anyone could see it from the kitchen side.
  7. Dried to a standard, not to the touch

    Kitchen with air movers and dehumidifiers running against the window wall
    Moisture meter at the base of the kitchen window wall
    Window wall — base
    Moisture meter above the stained baseboard on the kitchen window wall
    Window wall — baseboard
    Air movers and dehumidifiers run until the framing and subfloor meet a dry standard, confirmed on the meter. The equipment sits against the window wall because that is the wall both readings alongside came from — the kit goes where the numbers say, not where there is room for it. A surface that feels dry over wet framing is exactly how the same repair comes back a year later.
The readings

Every surface we measured

Seven readings taken before anything was opened up — and not only in the kitchen. The laminate floor is continuous through the house, so the only way to know where the water stopped was to go and measure. The values are on the instrument rather than retyped: the meter states them, we do not.

  • Moisture meter reading — Kitchen — left window wall

    At the base of the wall beside the tile, on the run that carries the drying equipment in step 07

    Kitchen — left window wall

  • Moisture meter reading — Kitchen — left window wall

    Above the stained baseboard on the same wall, with a second instrument in frame

    Kitchen — left window wall

  • Moisture meter reading — Kitchen — back door

    Base of the back-door casing, between the two windows and immediately left of the cabinets that came out

    Kitchen — back door

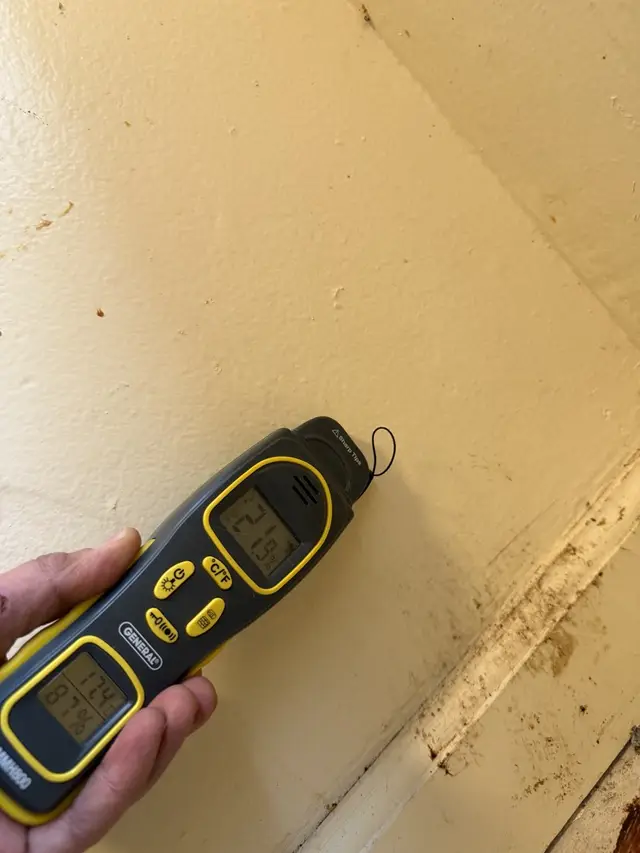
  • Moisture meter reading — Kitchen — by the brown cabinets

    Wall above the baseboard, left of the brown cabinets, where the tile meets the laminate

    Kitchen — by the brown cabinets
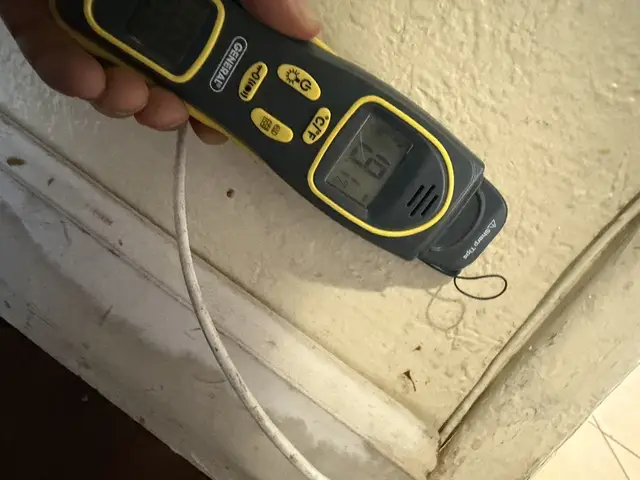
  • Moisture meter reading — Dining room

    Casing at the laminate floor, beside a routed supply line

    Dining room

  • Moisture meter reading — Dining room

    Casing beside the refrigerator, at the tile-to-laminate threshold

    Dining room

  • Moisture meter reading — Dining room

    Meter reading taken on the laminate floor

    Dining room

The daily monitoring that followed is in the drying log below.

Drying log

What the meter said, every day

Every component monitored daily through the dry-out. Each material has its own goal — gypsum board is not dry at the same number as a wood stud — and the job is not finished until each one reaches its own.

Moisture content by component through the dry-outEach monitored component falls from its initial reading to at or below its own material goal. The same figures are in the full log table.

Swipe the chart sideways to read it, or open the full log.

    Why the goals differ. A dry standard is not one number. It is set per material — measured against the same material somewhere the water never reached — which is why the gypsum board target here is 5% and the wood studs behind the base cabinets are 12%. Drying everything to a single figure would mean over-drying some of it and leaving the rest wet.

    The lower cabinet was not dried. It was removed. Some materials do not come back, and pretending otherwise is how a repair gets done twice.

    Documentation

    What your insurer gets

    Dated photographs, in sequence

    The condition before, the cause, how far the water travelled, and what was behind the wall once it was open — in the order it happened.

    Readings and a written scope

    Moisture readings through the dry-out and a line-itemed scope of the damage and the repair. The full drying log is on this page — every component, every day, against its own goal.

    We do not decide coverage and we are not a public adjuster. You file with your carrier; in California the choice of contractor is yours.

    Part two

    The rebuild

    Coming soon

    The rebuild of this kitchen will be added here, in the same format. Keeping both halves on one page is the point — a restoration company hands off to a builder at exactly this moment; this job did not.

    A failed filter canister is one of the quieter ways a kitchen floods. Our guide coverswhat to check under your own sink, and what a drying log is explains the document on this page and why you should ask any contractor for one.

    Water somewhere it should not be?

    Call and describe what you are looking at. We will tell you what needs to happen first, whether or not it turns into a job for us.

    • Licensed & insured · CSLB #1123274
    • Free in-person estimates
    Call nowFree estimate